
How to use Image Trace in Adobe Illustrator
The Image Trace feature in Adobe Illustrator is a quick way to convert your image to vector format for high-quality printing at any size.
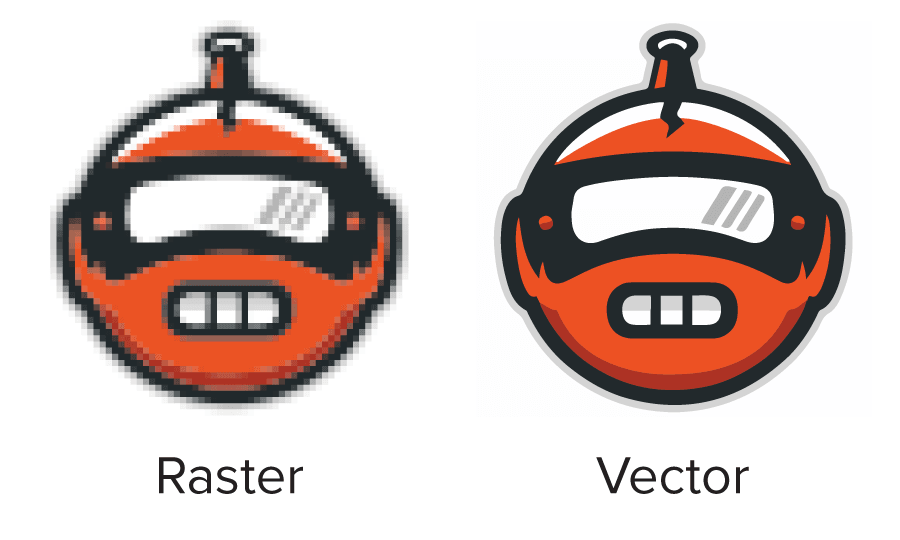
Unlike raster images, vector images are made up of mathematical paths that allow the design to be scaled infinitely while retaining its quality.
Here’s how to easily convert a raster image into a vector image using the Image Trace tool in Adobe Illustrator:
Step 1
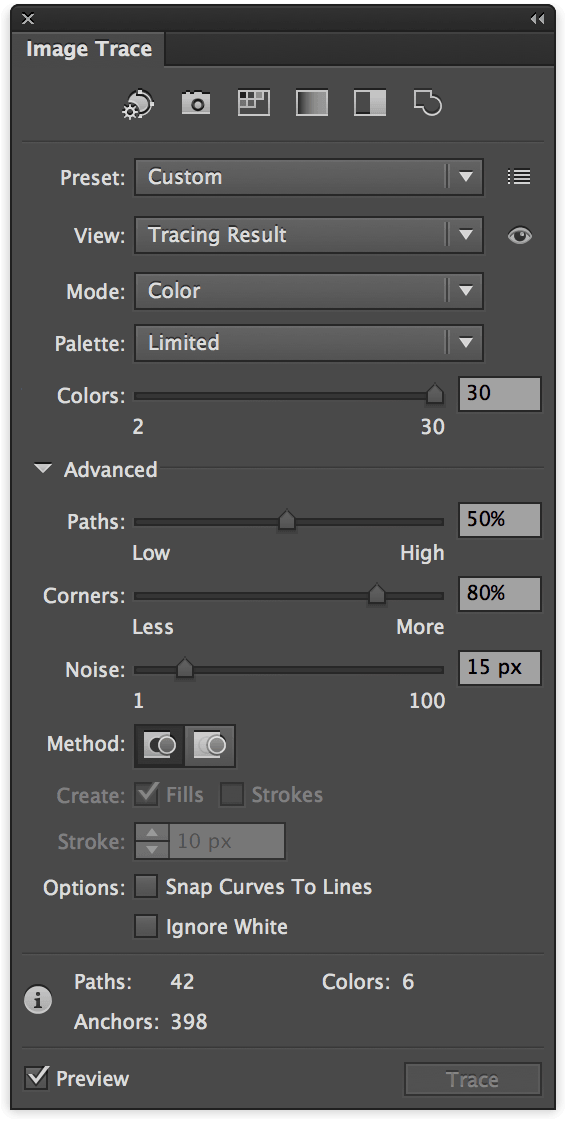
With the image open in Adobe Illustrator, select Window > Image Trace
This will bring up the Image Trace panel.

Step 2
With the image selected, check the Preview box. This will give you a live look at your image in vector format. Don’t worry if it doesn’t look great right away – there are more steps to go!
Step 3
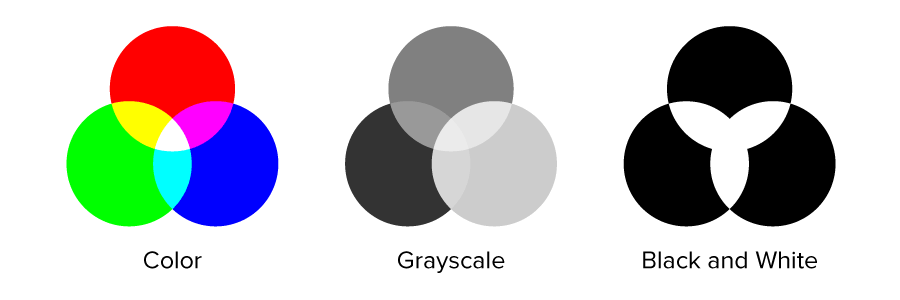
Select the Mode drop-down menu, and choose the mode that best suits your design.

Step 4
Next, adjust the Colors, Grays, or Threshold slider. This slider will change depending on the mode you select, however the functionality between the 3 sliders remains similar.
Colors – Maximum number of colors used for tracing.
Grays – Grayscale accuracy from 0 to 100.
Threshold – Pixels darker than a threshold value are converted to black.
If this is too low, it might make your image too plain. And if this is too high, it could make your image too complex. However, this all depends on your unique image.

Step 5
Toggle the Advanced menu down to bring up more options.
Step 6
Adjust the Paths slider.
This sets the number of paths in your design. Fewer paths means a simpler design, but if there are too few paths it can distort your image or make it appear boxy. Conversely, too many paths can make the edges of your design very rough-looking. Again, this all depends on your unique image – so it’s best to find a happy medium.

Step 7
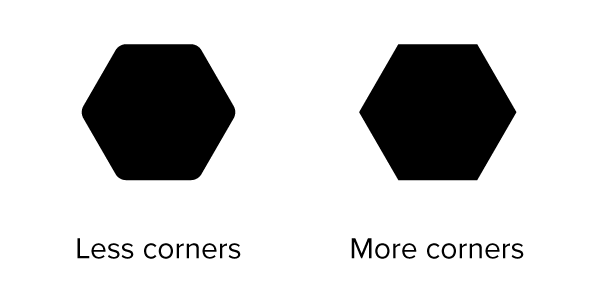
Adjust the Corners slider.
This controls the number of corners in your design. Fewer corners will make the curves of your design more rounded, while more corners will make the curves of your design sharper.
Step 8
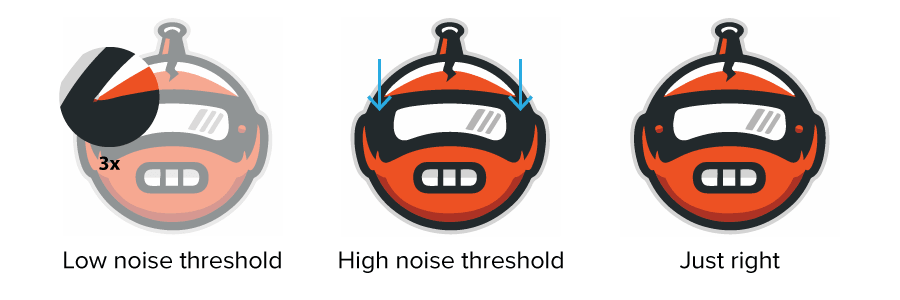
Adjust the Noise slider.
The noise slider tells Illustrator to ignore parts of your design that fit within the pixel amount set. A higher amount will result in less noise. This can very useful for eliminating artifacts of your design that aren’t supposed to be there. However, it can also eliminate important parts of your design that are smaller, so as always, find a happy medium that works for your design.
Step 9
Click the Expand button and save your image as an .ai, .pdf, or .eps file.
Now that you have a vector image, it will look great at any size. You can have it printed as a 1” inch die cut sticker… or an 8-foot wall graphic!
Simply choose a product and quantity, and upload your file to Sticker Mule as-is. Within a few hours, you’ll receive a free proof showing you exactly what your design will look like in real life.
Amazing!!! Thanks